As the weather finally begins to take a turn for the better this month, it’s just the encouragement we need to get out into the garden and crack on with that long list of jobs we’ve been putting off.
While there are undoubtedly many tasks you can undertake in April, from weeding to tree planting, the warmer air and moist soil also makes it the perfect time to dig deep and create a new border.
Borders can really transform a garden, and add some colour and interest to areas that may previously have looked a little unloved. With some careful planning, you could create a border that will continue to flourish with the passing seasons, or even use the border to disguise areas you’d prefer to keep hidden, like walls and sheds.
The great thing about borders is there’s no one size fits all approach; meaning whether you’ve got a cosy cottage garden or a sprawling lawn, you’ll be able to create something that works for you and your outside space.
Ready to cross into a new border? Here’s how to give your garden the edge it deserves...
Get plotting
Before you go digging and planting up your new border, you’ll need to do some important groundwork. Planning is essential - in order to decide which plants you’d like to grow, you’ll need to determine how much light and shade the area you’re hoping to place the border will get. Once you know this, you’ll have a better idea of the types of plants that will thrive in the new border, and you’ll avoid frustrations later down the line when things may struggle to grow due to their conditions.
If you’re planting herbaceous perennials, bear in mind that they’ll really flourish next year, so consider planting a mix of perennials and annuals to help the border thrive while your perennials are establishing themselves.
Measure up
Another important factor in designing your new border is knowing how much space you’ve got to work with - there’s nothing worse than returning from the nursery with a car boot filled with blooms, only to discover you’ve bought far too many or few for your desired space. You’ll also want to know the size of the border so you can calculate how much mulch you’ll need once you’ve finished planting.
Dream in colour
Once you know the size and conditions of your new border, you can start planning which plants you’d like to fill it with. For small borders, one type of each plant will give you plenty to be working with, while for larger borders you may want to create clusters of 3-5 plants. Also plan for filling any gaps with bedding plants, seeds and bulbs.
Think about what’s in flower when, as timing will be essential when it comes to keeping the colour going for as long as possible.
Start digging
Once you’ve defined the space for your border, it’s time to start making that dream a reality. Firstly, use a spade to cut the desired shape for the border, then lift out the grass in sections. Remove any stones or roots that may be lying under there.
Once this is done, you can put down some compost to help enrich the soil and encourage healthy growth in your new plants.
Now it’s time to edge your border - use your spade to define a clear edge of about 4-6 inches deep. If you’re looking for really neat edges, use shears to trim the grass after digging out your edges.
Plant prep
Now that you’ve dug out your border and it’s ready for your plants, it can be tempting to just start putting things into the ground - but be patient because a little planning now will pay off later.
Before planting, take each of your plants in its pot and place it in the position you’d like it to grow in. Do this with each one until they’re all laid out, then stand back and take a look. Now’s the time to move anything you’re unsure about or that won’t give you the desired look you’re after.
Let it grow
It’s the moment you’ve been waiting for - planting time! Dig each hole to be about the same size as the pot, and place the plant into it, teasing the roots out as you go. Once everything is in place, water your new border thoroughly. Finally, add some mulch to keep the soil moist (and to deter those pesky weeds from ruining your hard work) - then stand back and admire your handiwork!
As we enter April, everything starts to feel a bit more hopeful. The days are longer, the world looks greener, and if we keep our fingers crossed, hopefully the sun will come out to play too.
With spring finally arriving, it’s time to get back out into the garden and start tackling the jobs you’ve been putting off. April is a great time to take stock of what needs to be done to get the garden back in shape after winter, but it’s also the time to look ahead. Time spent wisely in the garden now will reap the benefits in months to come, and ensure you have a glorious garden over the summer months and beyond.
But, where to start? If you’re looking hopelessly at the weeds and overgrown beds wondering how on earth to turn your outdoor space into an oasis, then we’ve got some handy tips to help you get the most out of your garden this April.
Repair your lawn
If the winter’s left your grass looking a little lacklustre, then April is a great time to work on repairing it so it’ll soon be back to its verdant self. For any patchy areas, sow grass seeds now. Prepare the lawn by removing weeds and scarifying the soil to loosen it. Then, use a lawn feed to help promote grass growth.
Once you’ve done this, it’s time to plant. Mow the grass, then moisten the soil and sprinkle the grass seed evenly. (You should aim for about 35g per square metre, however, for patchier areas you can apply 50g per square metre).
Water your lawn after reseeding, and continue to mow as normal.
Tackle the weeds
It’s a gardening job nobody enjoys, but an essential one nonetheless, especially if you want to give your garden a fighting chance of blooming this year.
Around this time of year, you’ll start to see dandelions springing up in your lawn, so it’s a good idea to tackle these now to avoid them taking over.
The same goes for those pesky weeds that are in your borders and beds - left to their own devices, they’ll take over and hamper the chances of your budding plants flourishing, so pull them up now (make sure to get the root too).
Grow your greens
If you’ve been longing for your own supply of vegetables, then now’s the time to plant them up and make that dream a reality. If you’re growing summer vegetables from seed, then you’ll need to harden them off first, by gently introducing them to the outdoors and to sunlight. Try leaving them outside for short bursts of time, and eventually you can increase this to allow them to be outside day and night.
Let it sow
Now’s a great time to sow seeds, especially if you’re looking for some colour in the garden this summer. Direct sow wildflower mixes - they’re ideal for attracting bees and butterflies, and will give the garden a lovely variety of colours too. It’s also the time to sow hardy annuals (poppies, sunflowers and marigolds).
Before you sow, prep your soil to make sure it’s well-conditioned and providing the best nutrients to your seeds.
Plant out sweet peas
If you sowed sweet pea seeds in autumn, then the likelihood is they’ll be ready to plant in the ground this month. You’ll need to be sure the last frost has passed, and that you’ve hardened the seedlings by introducing them to the outside, bit by bit for a couple of weeks before you plan to plant them.
Once they’re good to go, choose a spot in full sun where they’ll thrive, and plant them about 20cm apart.
Set your sights on summer
Take advantage of the soil beginning to warm up, by planting some summer flowering bulbs this month. Gladioli, Cannas and Alliums can all be planted directly into the ground, and will make for an impressive display come summer. Group the bulbs together with at least six for maximum impact.
Back to the roots
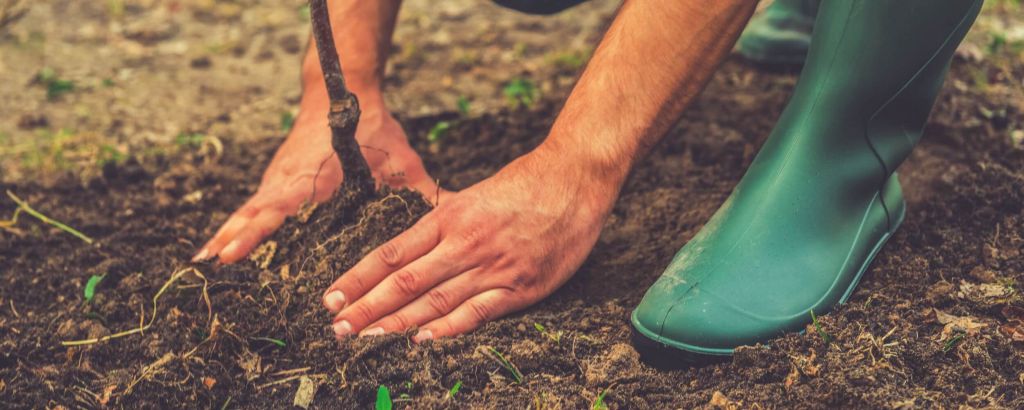
April is the ideal month to plant trees and shrubs in the garden - planting in spring gives them a chance to grow and flourish during the summer months, and they’ll be better prepared for winter.
If there’s any trees or shrubs that need a little relocation, now’s the time to consider doing this, too. Choose a cooler day to avoid the roots drying out, and be aware that it may take a little time for your plant to adjust to its new surroundings. Much like us, moving can be stressful, and plants can experience shock. Ensure that the soil is well watered before moving the plant, and afterwards continue to water thoroughly.
It’s also a good idea to lay down a thick mulch of compost or bark to help conserve moisture.
Charlie Bond - Gardenscape's Constant Gardener
We received a thank-you e-mail from Mr James Pritchard, which we don't want to withhold from you:
Hi,
I just wanted to say what a superb company you are. I’ve had two orders and deliveries now.
The ordering process and payment is easy on your website. Office staff are polite and friendly when they call you. Correspondence is clear via email and the pre-delivery call is useful.
The staff that deliver are very friendly, polite, fast and efficient.
I stumbled on your company on the internet when looking for some pine nuggets. Most companies were based in the north of England and it’s nice to find a company more locally.
So well done to everyone and thank you very much.
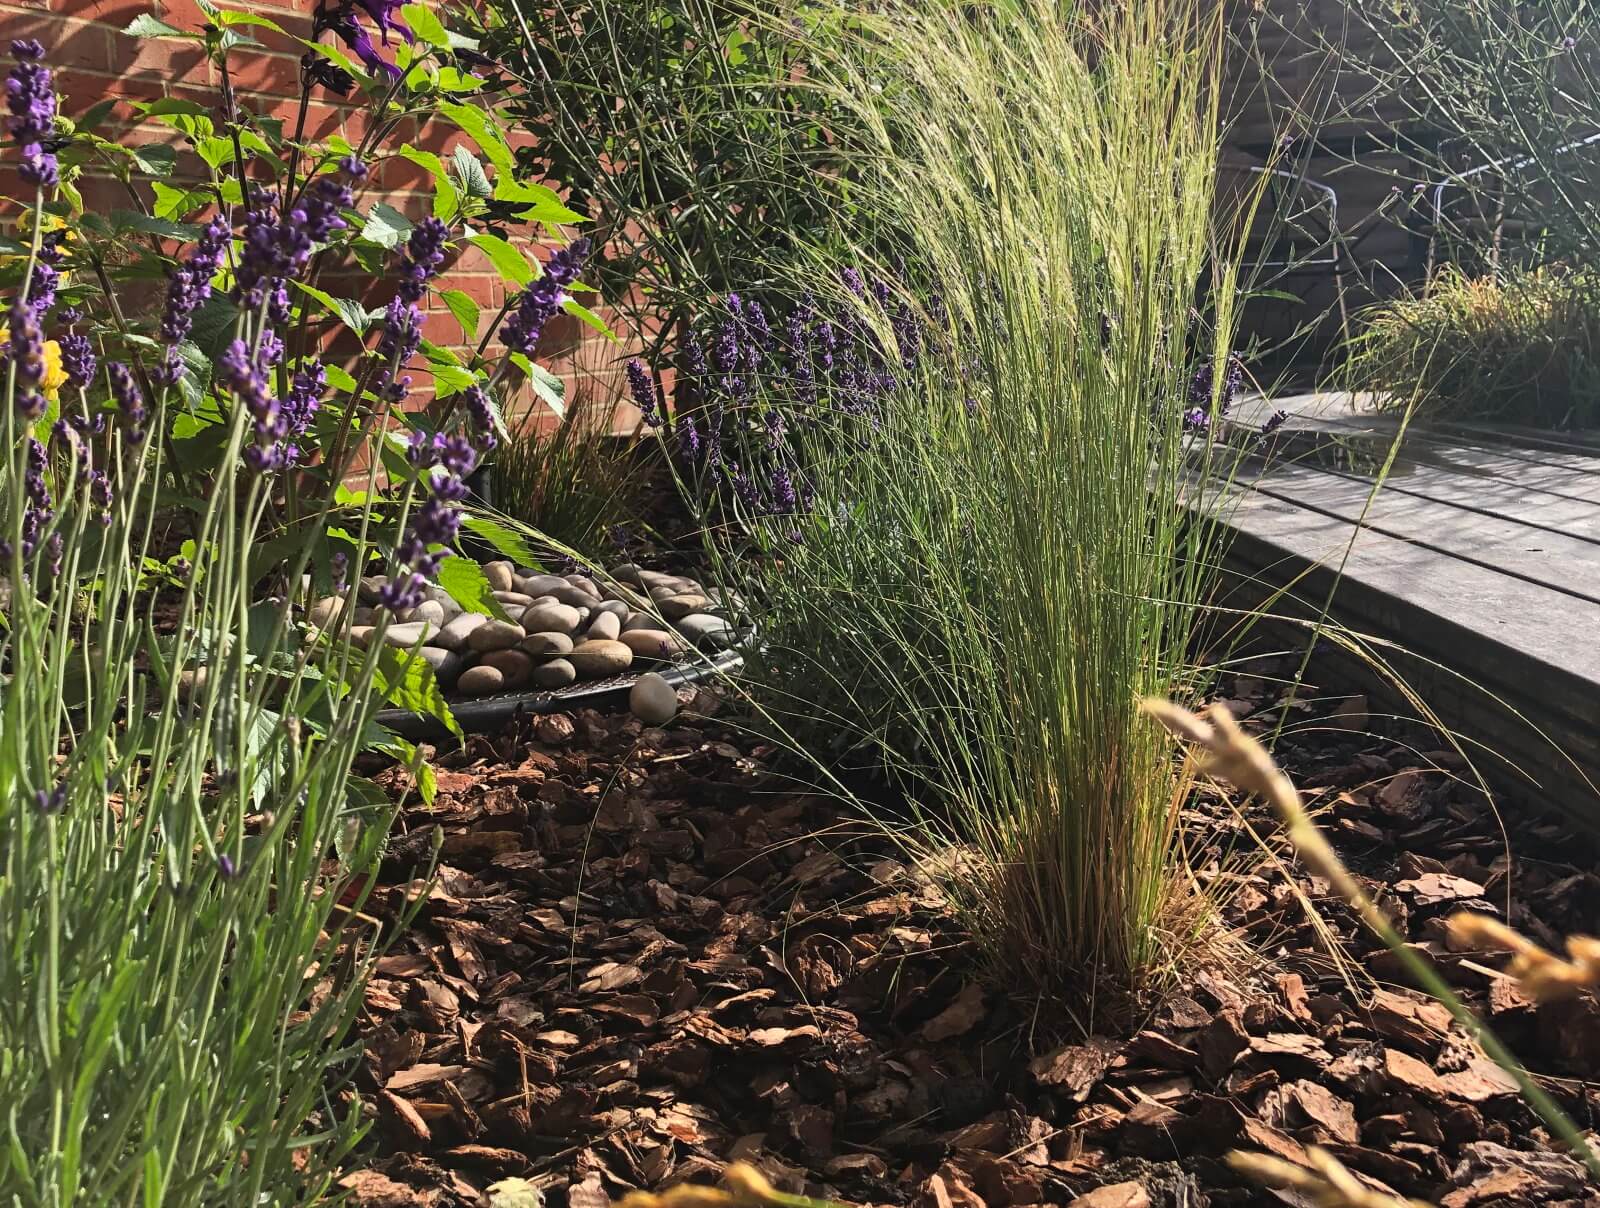
The photo above shows the pine nuggets in situ.