
How to give an urban tree the best start in life
On Wednesday 4th July, GreenBlue Urban invited contractors and suppliers to an open day. Starting with a tour of their spectacular offices and production facilities in rural Bodiam, there were presentations and then a demonstration of their new RootSpace400 system - assembling a complete urban tree support system and planting a young tree before our very eyes. Interrupted only by a delicious barbecue lunch and the thoughtful supply of cooling refreshments - temperatures rose pretty high in the glorious Sussex sunshine - perhaps the most impressive aspect of this part of the day was the speed with which the system could be put together.
This post is only about the "trial tree pit" showcasing the RootSpace400 system, but we are very grateful for the invitation to the whole day, enjoyed ourselves greatly and look forward to continuing our friendly relationship with GBU.
So, let's get started...
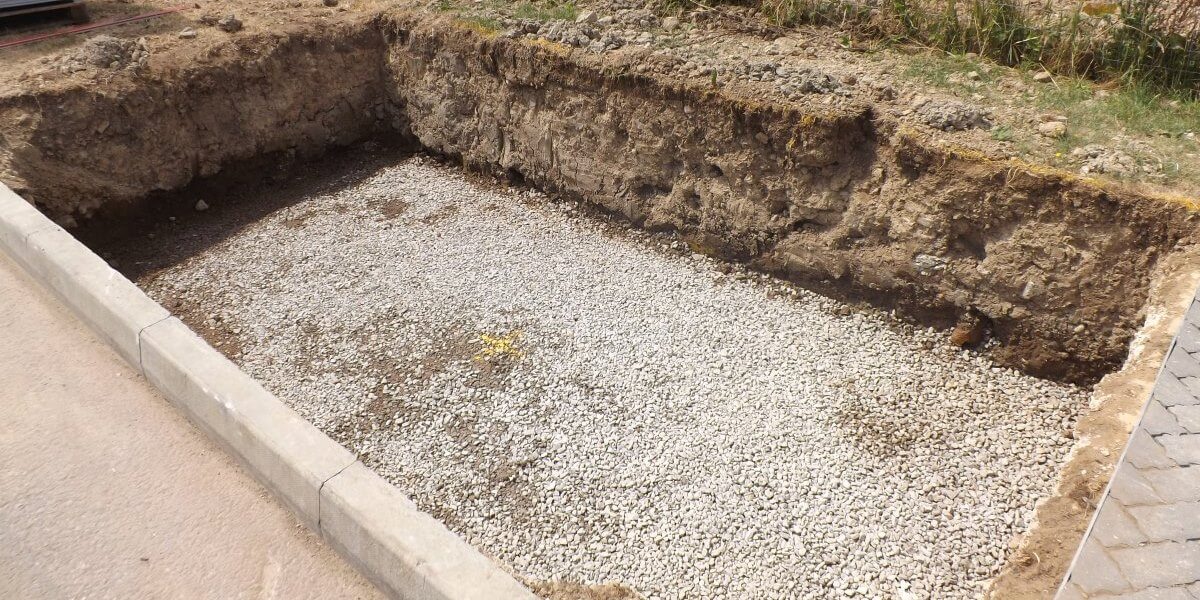
Here is the tree pit, excavated and with a layer of aggregate in the bottom, to provide a stable base for the continued build. Note the yellow X spray-painted in the middle - this is to mark where the tree will go - just to help with the positioning of the soil cell units. First, however, we put down some light but strong mesh:

The purpose of this is to stabilise the ground further and to form an outer perimeter for the soil cells. The mesh also helps spread the load of the assembly, in case the underlying ground is a little uneven. Next, we can start putting the soil cell components in place:
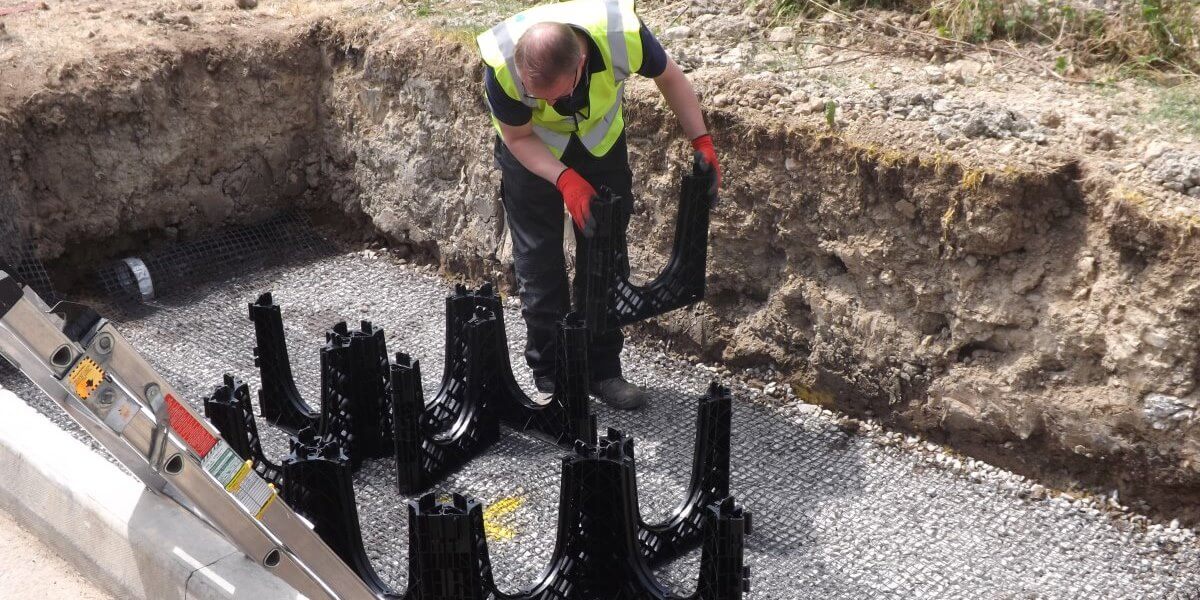
These lightweight but very strong cell walls easily clip together to form a grid around the tree. They strengthen the soil structure and prevents the soil from dissipating into the surrounding ground over time. The walls are shaped so that they can be fitted around existing sub-soil infrastructure such as pipes or cable ducts.
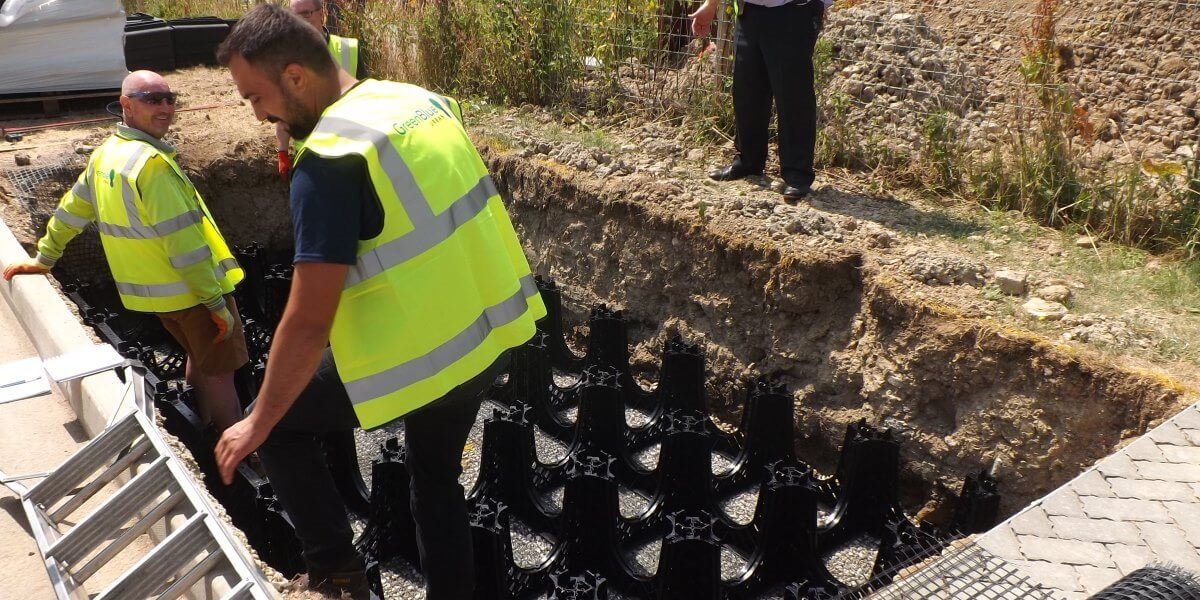
Here the tree pit has been filled with the soil cell grid system. Many of the visitors were keen to have a go at snapping the units together - the work had a very satisfying Lego-feel to it. Those of us visitors with a few more years behind us quickly recognised a "free labour" scheme on the part of GBU and stayed out of the pit (just kidding - it was only a lack of protective footwear that stopped me).
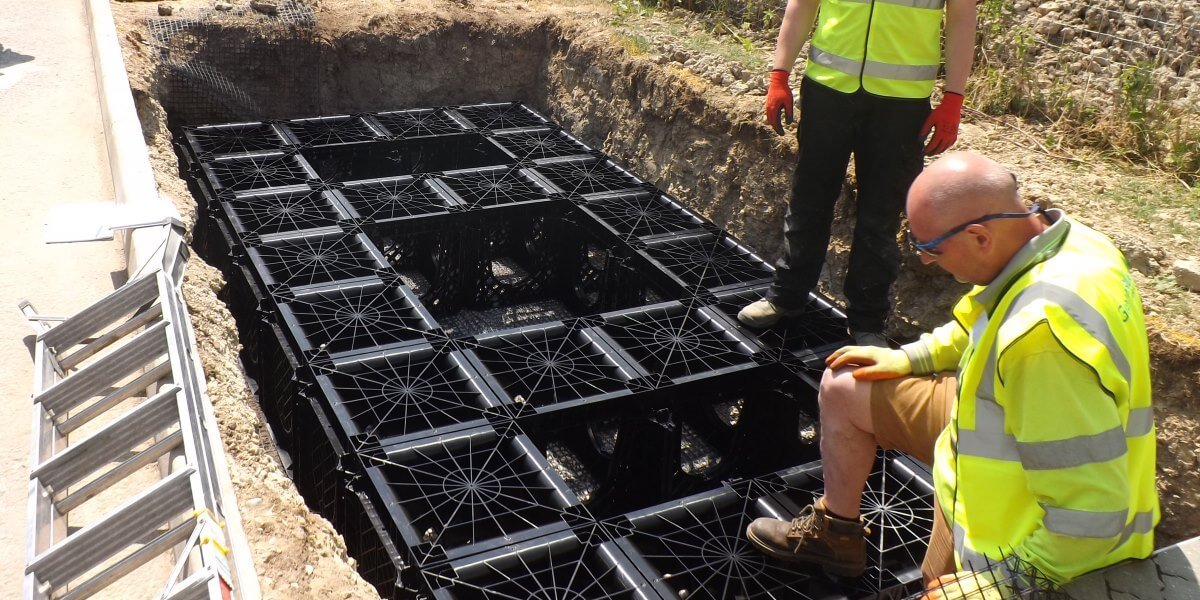
The soil cells are now finished and secured by putting lids on them, leaving a space under the tree itself and where they are not needed for structural stability. At this point, the installation can cope with forces of up to 20 tonnes/sq. m. from above - several times beyond the pressure inflicted by the heaviest possible lorry driving over it.

The next step is to pull up and secure the ground netting along the sides of the soil cells. Then, we put a ribbed root barrier (ReRoot) at the road side of the tree pit to prevent straying tree roots from undermining the road and instead turn back into the soil cells. The space between the root barrier and the wall of the tree pit is filled with Type 1 aggregate to keep everything in place.
At this point, the cells would normally be filled with soil, before the next steps of the construction process. However, in order to reduce the time needed for the demo, on this occasion only about two cubic metres were put in to stabilise the cell.
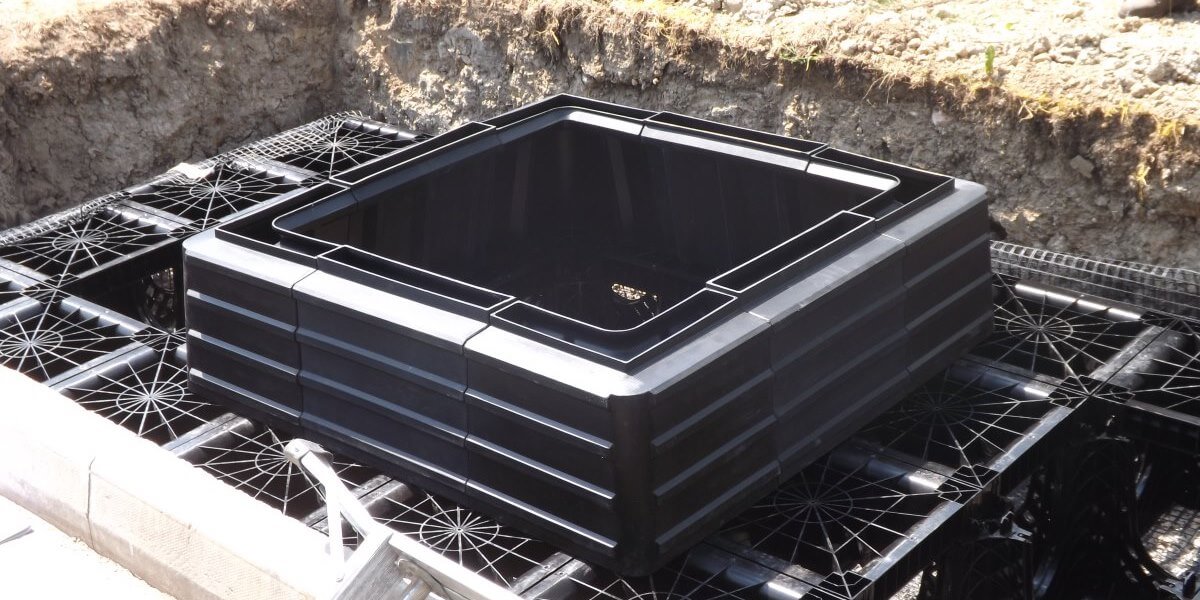
A RootForm root director is then easily assembled and placed on top of the soil cells. This is a frame which goes around the young tree's root ball and forces the roots to seek their way down into the soil cells, away from the pavement. It is designed to fit on top of the RootSpace system. After assembly, the plastic structure is filled with quick-setting concrete, like PostFix.
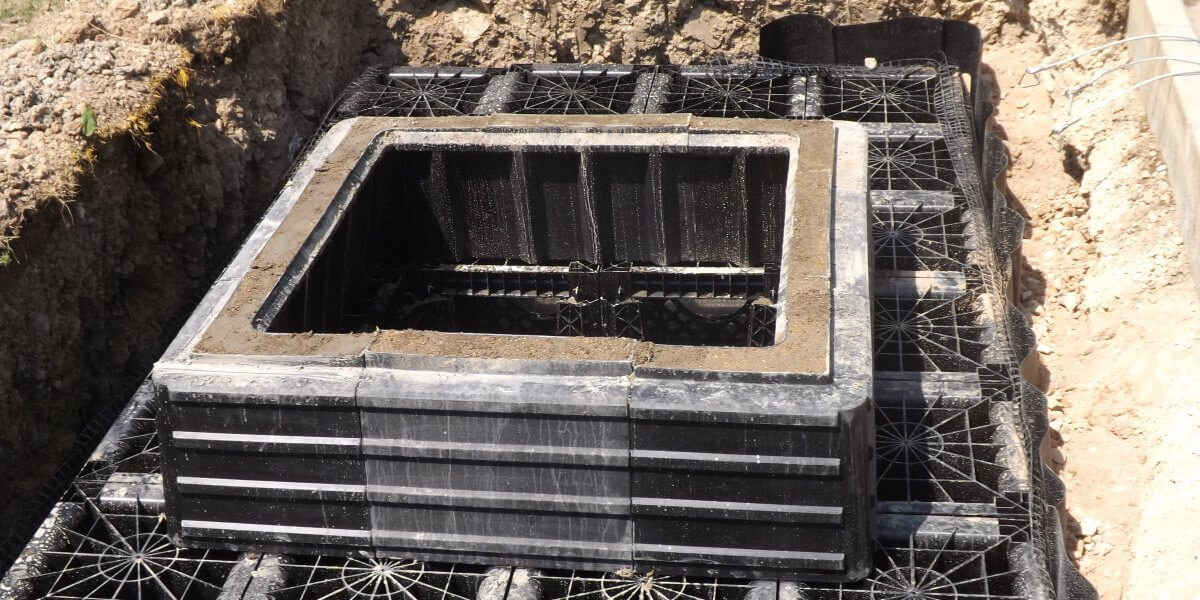
It was at this point we broke for lunch. When we came back, the concrete had set and the now heavy Root Director is stable enough stay in place while the tree is planted and secured.
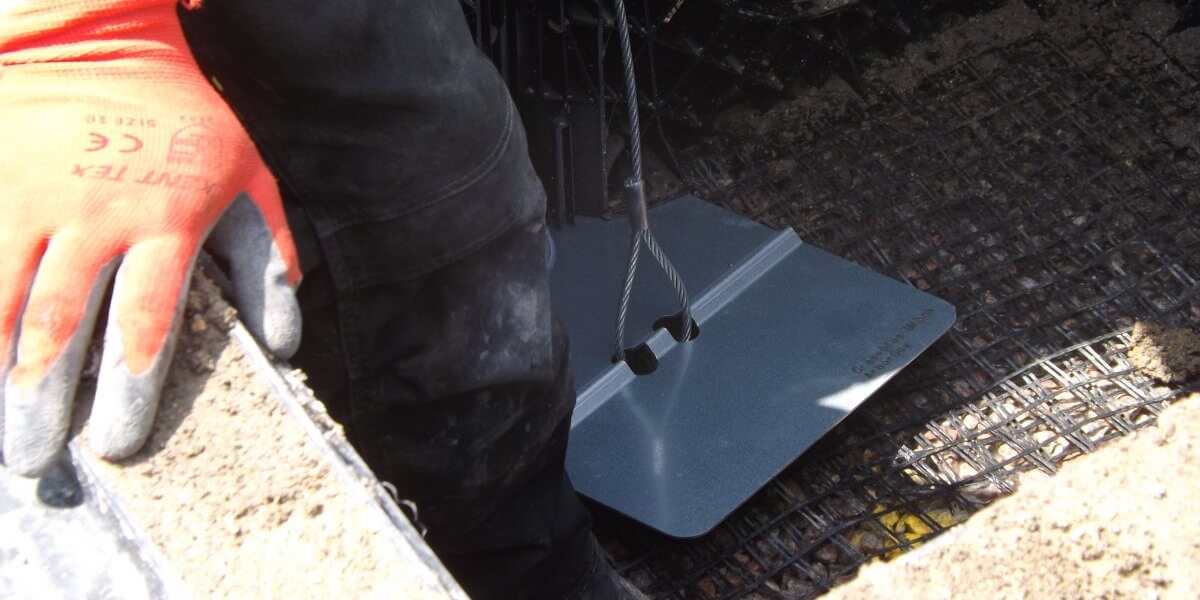
Here we can see one of the three tree anchors, which are safely secured under the root director. (In practice, these would have been put in place when the cells were filled with soil, before the root director is put in place.) A tree guy band is then fitted to the anchors. This will hold the young tree upright without using stakes. Tree ties secured to stakes can cause bark damage and also require ongoing maintenance until the tree is strong enough to manage without support.

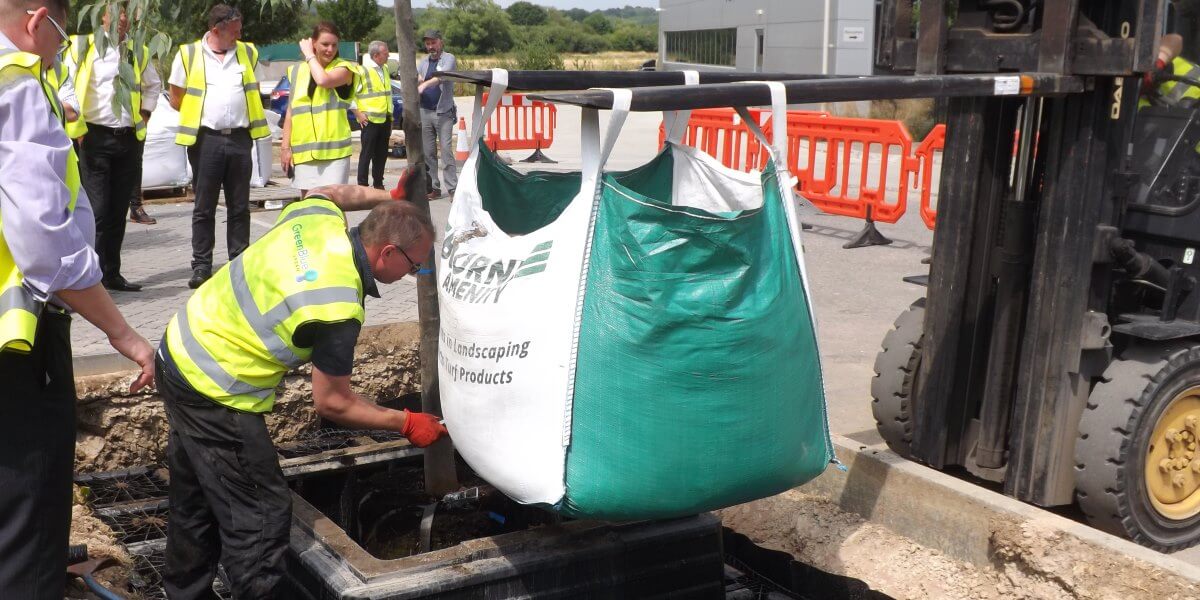
Now for the really important bit! Directly under the root ball, we place a tonne or so of bio-retentive soil, specially mixed for this purpose. It will help with directing the roots and manage the hydration of the young tree. The bulk bag is simply held on a fork-lift over the tree cell and slit open (though the top-quality Bourne Amenity bag took quite a few cuts before it would dispense its contents on this particular day).
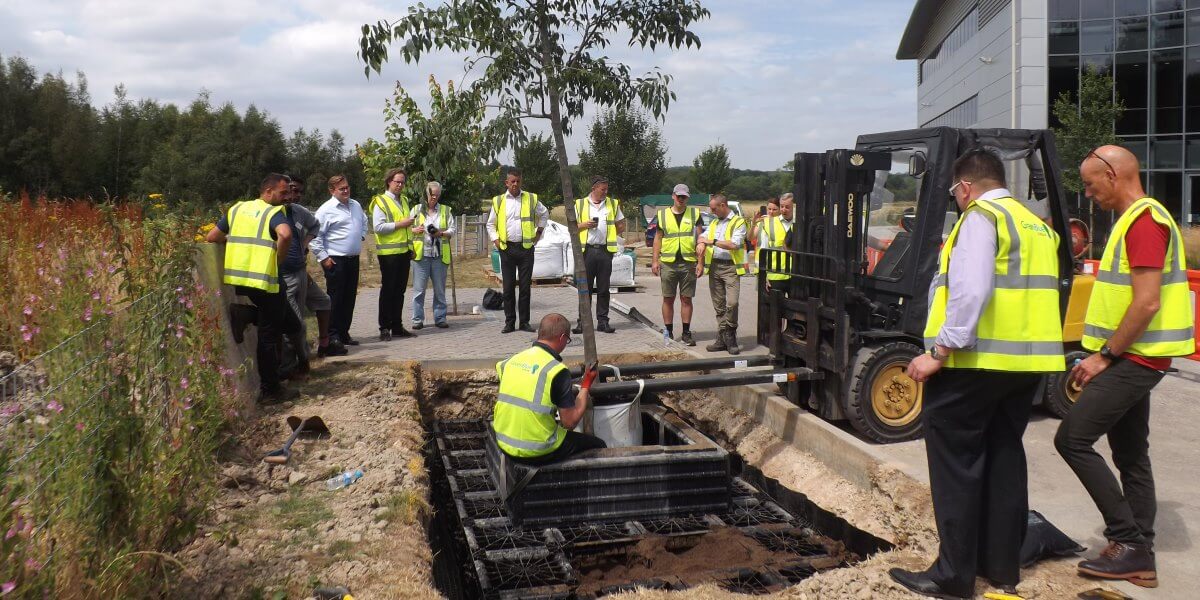
At last, it's time for the tree to make an appearance. The scene looks rather like a stereotypical workplace, with most people just hanging around watching and coming with helpful advice, with one poor man doing all the work... but Lloyd managed perfectly under the combined weight of performance pressure and blazing sunshine.

With the root ball in place, the time has come to tighten and secure the tree guy, using a nifty ratchet. Getting the tree to be vertical involved some adjustment, of course - reminded me of nothing so much as the annual tribulation of positioning the Christmas tree under constant advice from the family...
Then the Root Director can be filled with soil - in this case it's just normal Bourne Amenity TS6 manufactured BS3882:2015 topsoil. (This material would also be used for filling the soil cells.) However, halfway through this process:

- the tree irrigation system is put in place. It is put together from standard components and trimmed to size, and then the root director can be filled with soil to the top.

Finally, the tree grille can be put in place. From this photo, you can see how the grille frame includes a feature to secure the irrigation pipe. With the grille in place, the whole assembly is secure from everything except the most determined vandal.

Here is the final view from the trial tree pit day. In a "live" implementation, the cells would already have been filled with soil, and a ventilation system fitted to keep the soil at a correct balance of oxygen, CO2, nitrogen, and other gases. Then a soil membrane is laid on top of the soil (you can see the roll at the bottom of the picture), some aggregate goes on top of that and then the whole area can be paved over.
At the very end of the demonstration, Lloyd placed a long spirit level from the top of kerb to the tree grille. I must admit I was very impressed to see the bubble stay precisely in the middle - after all these layers of construction, the height of the tree pit assembly was spot on!
PS - GBU's own report from the day, with video, can be seen here.